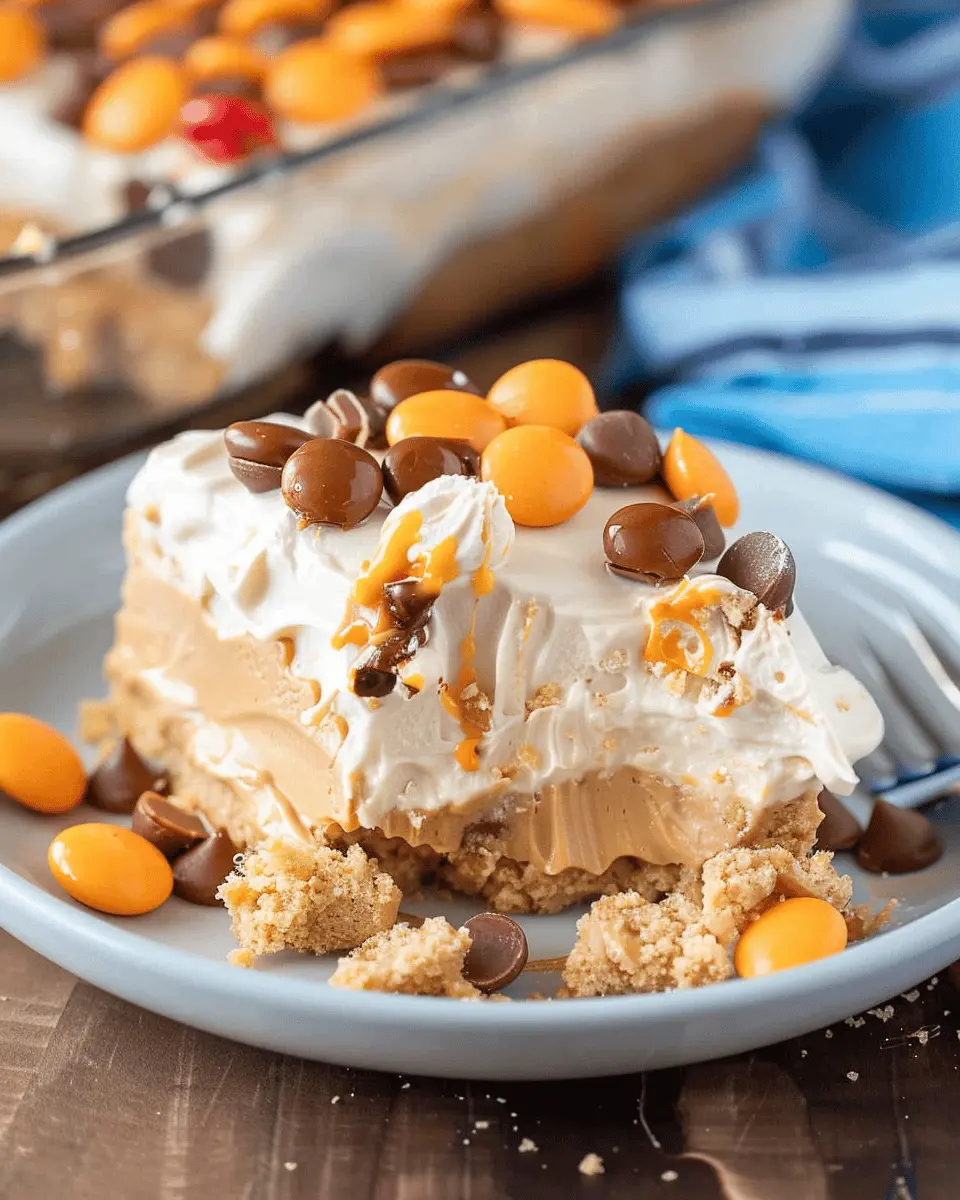
Introduction to No Bake Peanut Butter Icebox Cake
When it comes to desserts that fit into a busy lifestyle, no bake desserts are absolute lifesavers, especially for young professionals hustling to excel in their careers. Imagine coming home after a long day at work, only to spend hours in the kitchen stirring and baking. Sounds exhausting, right? Luckily, with a delicious no bake peanut butter icebox cake, you can indulge your sweet tooth without any of the hassle.
Why No-Bake Desserts are a Game Changer for Young Professionals
In today’s fast-paced world, convenience is king. No bake desserts offer a simple solution for active lifestyles by requiring minimal time and effort. Here’s why they should be your go-to for sweet treats:
-
Quick Prep Time: You can whip up this no bake peanut butter icebox cake in about 20 minutes. Just layer your ingredients and let the fridge do the work.
-
No Oven Needed: Say goodbye to preheating! No bake recipes save energy and let you avoid the summer heat but still enjoy cool, creamy desserts.
-
Perfect for Sharing: Impress friends or colleagues by bringing a delightful no bake cake to the next potluck or office gathering. It’s sure to be a hit!
-
Versatility: The base of this dessert can be altered to fit your taste. Want to switch out peanut butter for almond butter? Go for it! Add some crushed cookies or fresh fruit; the possibilities are endless.
Did you know that desserts are often a way to bond with others? Sharing a sweet treat can foster connections in both personal and professional settings. In fact, research shows that people who engage in shared experiences, such as enjoying food together, develop stronger relationships. Exploring recipes like this one can be a great addition to your culinary repertoire; for more tips on how to make connections through food, check out this article.
So, whether you’re treating yourself after a big presentation or looking to impress someone special, this no bake peanut butter icebox cake is your go-to for indulgence without all the fuss.
Ingredients for No Bake Peanut Butter Icebox Cake
When the craving for something sweet hits, this no bake peanut butter icebox cake is your go-to solution! It’s simple, delicious, and perfect for busy young professionals who want to impress without diving into a world of complicated baking. Here’s what you’ll need to gather:
Essential Pantry Staples and Fresh Ingredients You’ll Need
- Creamy Peanut Butter: The star of this recipe, providing that rich flavor.
- Cream Cheese: Adds a delightful creaminess that perfectly complements the peanut butter.
- Powdered Sugar: This sweetens the mixture without the graininess of granulated sugar.
- Heavy Whipping Cream: To create a luscious whipped topping that takes this dessert to the next level.
- Graham Crackers: These are your base, giving a nice crunch and a hint of sweetness.
- Vanilla Extract: A splash of this elevates the flavor profile wonderfully.
- Chocolate Syrup: For drizzling over the top (a little indulgence never hurt!).
You can easily source all these ingredients at your local grocery store or check out this guide for more tips on the best options. With these basics at hand, you’ll have a scrumptious dessert ready to impress in no time!
Preparing No Bake Peanut Butter Icebox Cake
If you’re looking for a dessert that’s both effortless and immensely satisfying, a no bake peanut butter icebox cake is your answer. It’s creamy, dreamy, and doesn’t require any cooking—perfect for those busy evenings when you crave something sweet without the hassle. Let’s walk through the steps so you can create this delightful treat in no time.
Gather Your Ingredients
Before diving into the world of deliciousness, it’s essential to gather all the necessary ingredients. Here’s what you’ll need for your no bake peanut butter icebox cake:
- 1 cup creamy peanut butter
- 1 cup confectioners’ sugar
- 2 cups heavy cream
- 1 teaspoon vanilla extract
- 24-30 graham crackers (or chocolate wafers for a tasty twist)
- Optional: chocolate sauce or chopped nuts for garnish
It’s always good to have everything on hand so that you can create without interruption. Plus, you may want to taste a little peanut butter to embrace the joy of your soon-to-be dessert!
Create the Peanut Butter Filling
Now, the fun part! In a medium bowl, combine the creamy peanut butter and confectioners’ sugar. Use a hand mixer to blend until the mixture is smooth and creamy. You want to achieve a light texture, so it’s best not to rush this step.
Next, in another bowl, whip the heavy cream and vanilla extract until soft peaks form. This will give your filling a light and airy texture. Gently fold the whipped cream into the peanut butter mixture. The goal here is to keep that airy texture intact while ensuring the components are well combined.
If you want to learn more about the benefits of using whipping cream in desserts, check out sources like the Dairy Farmers of Canada for more insights.
Assemble the Icebox Cake Layers
Now comes the assembly! Take a rectangular dish and start layering. Begin with a single layer of graham crackers, ensuring they cover the base completely. Spread a generous layer of your creamy peanut butter filling on top.
Repeat this process, layering graham crackers and the filling alternately, until you reach the top of your dish. If you run out of graham crackers, don’t sweat it! Just adjust as needed—this cake is all about the flavor, not so much the structure.
For an added twist, consider mixing in some chopped nuts or chocolate chips into the filling. This can give your no bake peanut butter icebox cake an exciting crunch with each bite.
Refrigerate for Perfect Texture
Once assembled, cover the icebox cake with plastic wrap and place it in the refrigerator. Allow it to chill for at least 4 hours, though overnight is even better. This step is crucial as it helps the layers meld together and the flavors to deepen. If you can resist the temptation, let it chill overnight for a more luxurious texture!
While you wait, perhaps you could prepare some sides or toppings, such as a simple whipped cream to serve on the side or a drizzle of chocolate sauce on top.
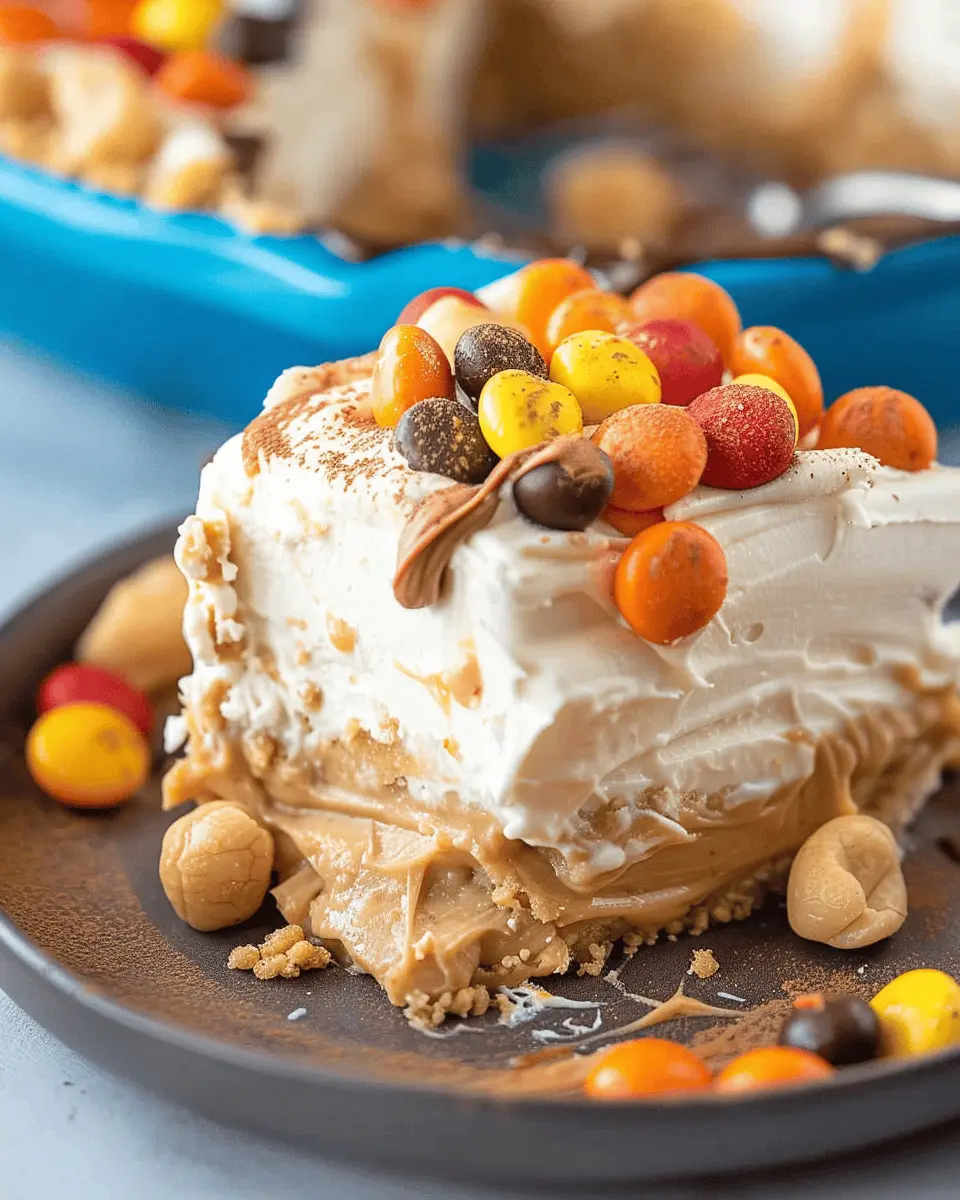
Serve and Enjoy
After patiently waiting, it’s time to dig in! Remove the dish from the fridge and slice your no bake peanut butter icebox cake. It will hold together beautifully, and you’ll see those tempting layers of graham crackers and peanut butter. Serve with a dollop of whipped cream or a sprinkle of chopped nuts for added flair.
This cake is perfect for parties, or just those evenings when you want something to satisfy your sweet tooth. The best part? It’s always a hit! So, gather your friends or family and enjoy every creamy bite of your creation.
Now that you know how to make a no bake peanut butter icebox cake, why not give it a whirl? You’ll be delighted by both the process and the finished product!
Variations on No Bake Peanut Butter Icebox Cake
Gluten-Free Options
If you’re looking to make your no bake peanut butter icebox cake gluten-free, you’re in luck! Simply swap out the traditional graham crackers for gluten-free alternatives, like almond flour-based cookies or gluten-free wafers. These options not only cater to dietary restrictions but also add a delightful nutty taste. Additionally, always check labels to ensure the peanut butter and any whipped toppings you use are gluten-free as well. For a little extra crunch, consider adding some crushed gluten-free pretzels in the layers!
Adding Chocolate Layers
Who doesn’t love chocolate? Elevate your no bake peanut butter icebox cake by incorporating rich chocolate layers. You can do this by melting dark chocolate and swirling it into your peanut butter mixture or spreading a layer of chocolate ganache between the cake layers. This will transform your cake into a dreamy chocolate-peanut butter duet that your friends and family will absolutely adore!
Fruit-Infused Variations
For a refreshing twist, consider adding fruit to your no bake peanut butter icebox cake. Sliced bananas or strawberries can be layered in between the cake layers for a tropical touch. Not only does fruit add flavor, but it also brings a pop of color and nutrition, making your dessert a bit more guilt-free. If you’re really feeling adventurous, drizzle a bit of fruit puree over the top for both taste and presentation. You can explore more fruity ideas at Food Network.
With these variations, you can make your no bake peanut butter icebox cake a crowd-pleaser for any occasion while accommodating various preferences! Happy baking!
Cooking Tips and Notes for No Bake Peanut Butter Icebox Cake
Common Pitfalls to Avoid
Crafting your no bake peanut butter icebox cake is a breeze, but watch out for these common missteps.
- Too Much Moisture: Use a well-drained creamy peanut butter. It keeps your cake from becoming soggy.
- Skipping Layers: Don’t rush through the layering; evenly spread your filling and cookies. This ensures a beautiful, cohesive presentation.
- Timing: Patience is key. Allow the cake to set in the fridge for at least 4 hours, or overnight if you can wait. This makes all the difference in texture.
Make-Ahead Tips for Busy Weeks
Life can get hectic, but your no bake peanut butter icebox cake can be made in advance!
- Prep Ahead: Assemble the cake the day before you need it. It not only saves time but enhances the flavor as it sits.
- Freeze for Later: You can freeze individual slices, wrapped tightly in plastic wrap. Just thaw them in the fridge before serving.
For more tips on meal prepping, check out resources like The Kitchn to streamline your cooking process! Whether for a gathering or a quick indulgence, this cake is sure to impress.
Serving suggestions for No Bake Peanut Butter Icebox Cake
Ideal presentations for gatherings
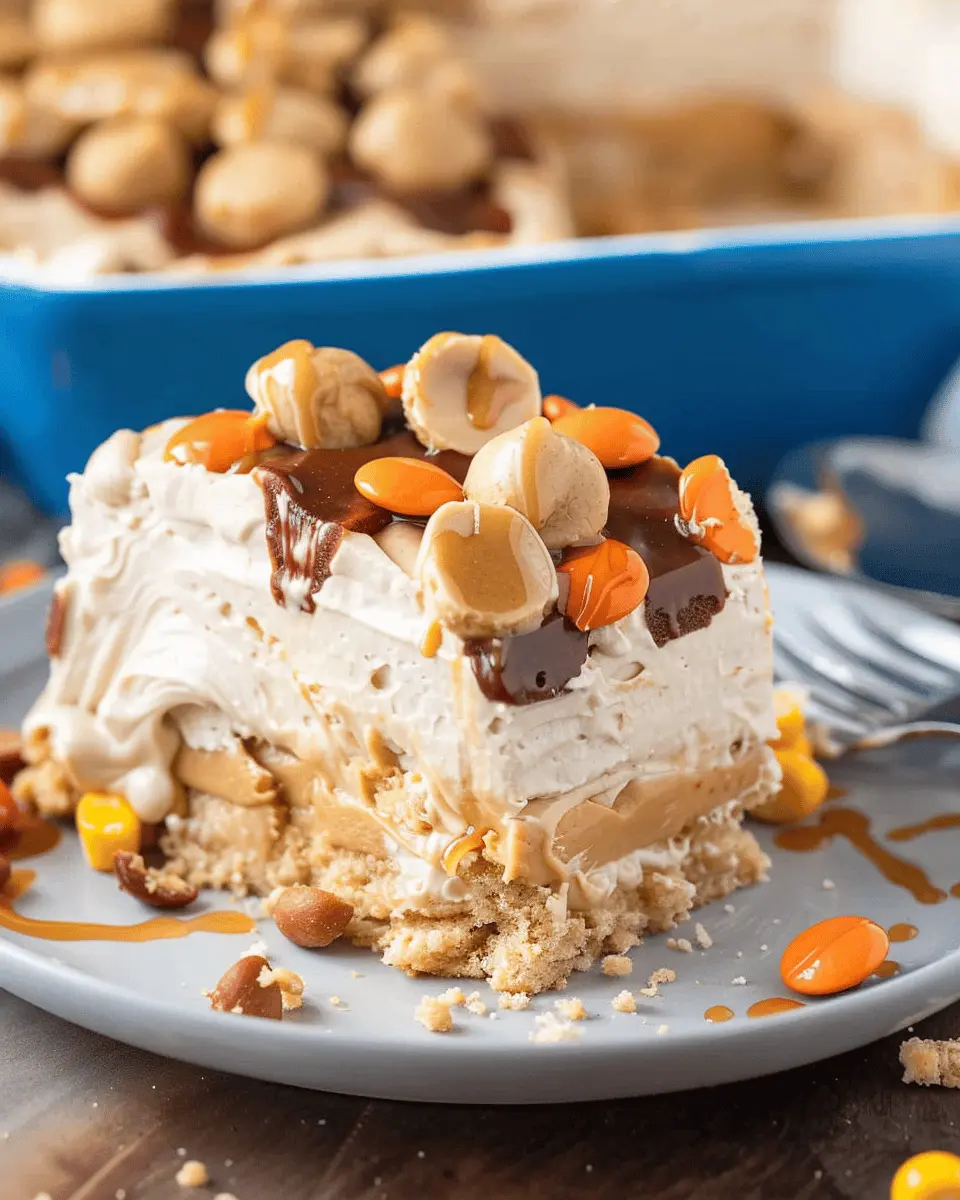
When you’re ready to wow your guests, your no bake peanut butter icebox cake can take center stage with a few easy presentation tweaks. Start by slicing the cake into generous pieces and plate each slice with a drizzle of chocolate sauce to enhance its already indulgent look. Garnish each plate with crushed peanuts or a dollop of whipped cream for that perfect finishing touch. For a more rustic vibe, consider serving it on a wooden platter alongside fresh fruit like strawberries or bananas—this not only adds color but also balances the sweetness!
Pairing options for beverages
To complement the rich flavors of your no bake peanut butter icebox cake, think of cold beverages. I recommend chilled chai tea or a refreshing iced coffee. Both drinks provide a delightful contrast to the cake’s creamy texture while keeping the focus on its flavor. If you’re feeling adventurous, try making a homemade fruit-infused lemonade—citrus could really elevate the dessert experience! Curious for more drink ideas? Check out this beverage pairing guide for unique suggestions that will delight your palate!
These serving suggestions will surely elevate your lovely dessert, making it the star of the show at any gathering!
Time breakdown for No Bake Peanut Butter Icebox Cake
When you’re ready to whip up an indulgent no bake peanut butter icebox cake, knowing how to manage your time will make the process a breeze. Here’s a quick breakdown to help you plan your delicious dessert.
Preparation time
Getting started is always the fun part! You’ll need about 20-25 minutes to gather your ingredients and mix everything together. It’s the perfect opportunity to get your playlist going or catch up on a podcast while you work.
Refrigeration time
Patience is key here. Letting your cake chill in the fridge will take approximately 4-6 hours, but overnight is ideal for the best flavor and texture. If you’re in a hurry, though, a shorter chill will still yield tasty results!
Total time
From start to finish, including that all-important refrigeration, you’re looking at about 4.5 to 6.5 hours. This means you can plan to prepare your no bake peanut butter icebox cake in the afternoon or evening for a delicious dessert ready by dinner time!
Planning to serve at a get-together? Prep and chill the cake early in the day, so you can focus on other dishes or enjoy time with friends. Trust me, this delightful dessert will be worth your time! For more on efficiently planning meals, check out resources like The Kitchn for insights on meal prep strategies.
Nutritional Facts for No Bake Peanut Butter Icebox Cake
When it comes to enjoying dessert without the guilt, it’s essential to know what you’re indulging in. Here’s a quick rundown on the nutritional facts for a slice of this delightful no bake peanut butter icebox cake.
Calories
Each serving contains approximately 250 calories. This makes it a satisfying yet moderate indulgence, perfect for satisfying those sweet cravings without wrecking your diet.
Protein
Packed with about 8 grams of protein per serving, the no bake peanut butter icebox cake offers a nice boost, thanks to the peanut butter. It’s a great way to integrate a bit of protein into your dessert!
Sugar Content
The cake has around 15 grams of sugar per slice. While it’s a sweet treat, you can modify the recipe to use less sugar or a natural sweetener if you’re watching your sugar intake. To learn more about sugar alternatives, you might explore resources like the American Heart Association for great tips.
In summary, while this cake is indulgently creamy and delicious, it can be enjoyed in moderation within a balanced diet. Happy baking!
FAQ about No Bake Peanut Butter Icebox Cake
Can I use natural peanut butter for this recipe?
Absolutely! Using natural peanut butter can add a richer flavor to your no bake peanut butter icebox cake. Just make sure to stir it well before measuring, as natural varieties tend to separate. This will ensure a smooth consistency in your cake’s layers. However, keep in mind that natural peanut butter can sometimes be a bit runnier, so you may want to adjust the cream cheese mixture slightly by adding a touch more powdered sugar to maintain stability.
How long can I store the cake?
Your no bake peanut butter icebox cake can be stored in the refrigerator for up to five days. Just make sure to cover it with plastic wrap or store it in an airtight container to keep it fresh. The flavors will actually deepen over time, which makes this dessert even more delicious if you give it a day to sit before serving. If you happen to have leftovers (though it’s unlikely!), it’s perfect for a quick snack or dessert later on.
What if I don’t have graham crackers?
No worries at all! If graham crackers aren’t on hand, there are plenty of great alternatives you can use. Try crushed digestive biscuits, vanilla wafers, or even chocolate cookies for a fun twist! Each option will lend a unique flavor to your no bake peanut butter icebox cake while still providing the necessary structure. Feel free to get creative!
For more inspiration, check out our guide on substituting ingredients in baking, and discover how easy it is to customize your recipes!
Conclusion on No Bake Peanut Butter Icebox Cake
Wrap-up and encouragement to try the recipe
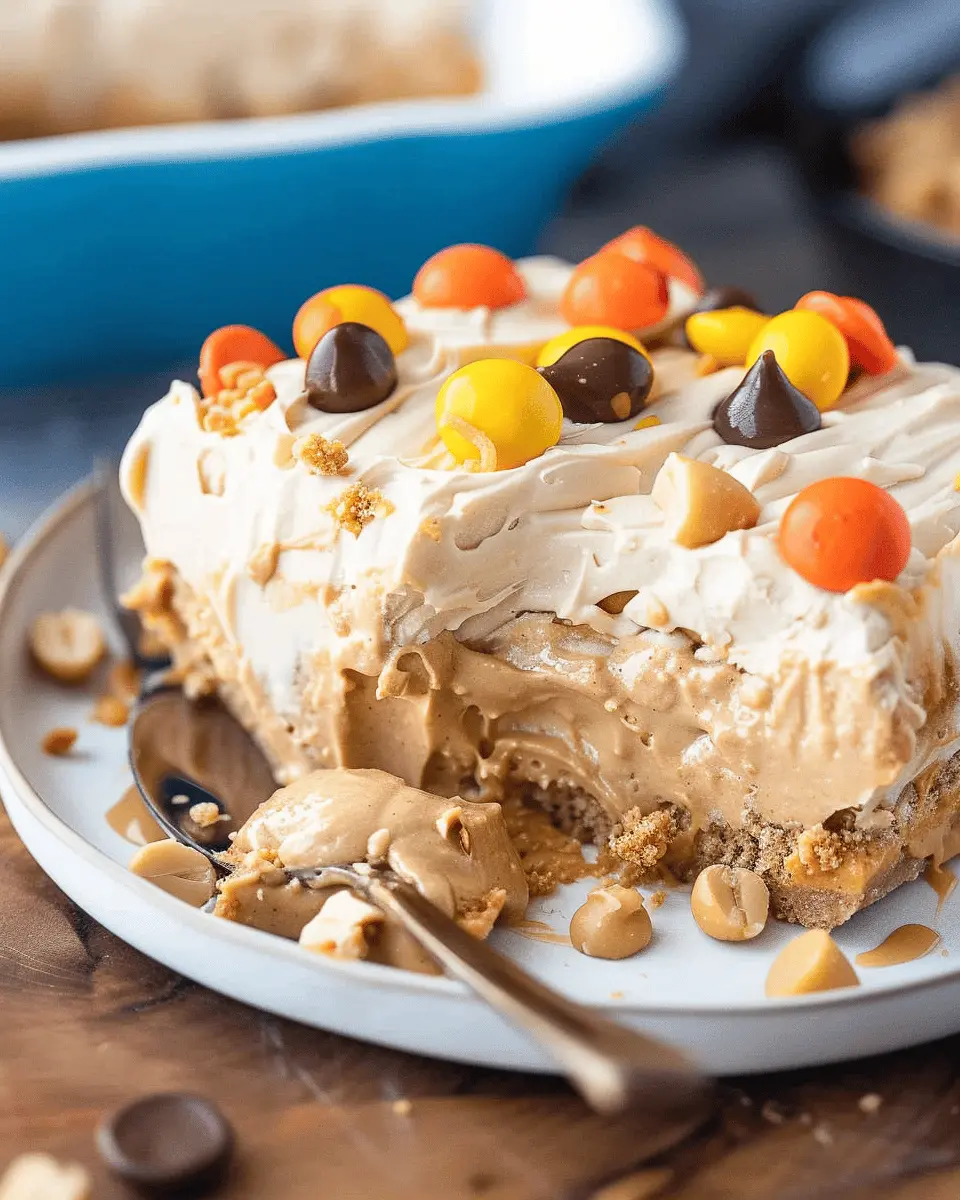
In summary, the no bake peanut butter icebox cake is not just a dessert; it’s a delightful combination of flavors and textures that’s effortlessly easy to make. The layers of creamy peanut butter and cool whipped topping create a satisfying treat perfect for hot days or any occasion.
I encourage you to gather your ingredients and whip up this no-fuss cake. Trust me, your friends and family will love it—and they may even ask for seconds! For added inspiration, check out sources like Serious Eats for tips on pairing desserts with refreshing beverages or even bonus recipe ideas. Enjoy your delicious creation!
PrintNo Bake Peanut Butter Icebox Cake: The Best Easy Dessert Ever
No Bake Peanut Butter Icebox Cake is the perfect dessert for any occasion. This easy-to-make cake combines layers of creamy peanut butter, whipped topping, and graham crackers for a delicious treat.
- Prep Time: 20 minutes
- Total Time: 4 hours 20 minutes
- Yield: 8 servings 1x
- Category: Dessert
- Method: No Bake
- Cuisine: American
- Diet: Vegetarian
Ingredients
- 1 cup creamy peanut butter
- 2 cups whipped topping
- 1 package graham crackers
- 1/2 cup powdered sugar
- 1 teaspoon vanilla extract
Instructions
- In a large bowl, mix together peanut butter, whipped topping, powdered sugar, and vanilla extract until smooth.
- In a rectangular dish, layer graham crackers on the bottom.
- Spread a layer of the peanut butter mixture over the graham crackers.
- Repeat the layering process until all ingredients are used, finishing with the peanut butter mixture on top.
- Cover and refrigerate for at least 4 hours before serving.
Notes
- For added flavor, you can drizzle chocolate sauce on top before serving.
- This dessert can be made a day ahead for easier preparation.
Nutrition
- Serving Size: 1 slice
- Calories: 320
- Sugar: 15g
- Sodium: 210mg
- Fat: 22g
- Saturated Fat: 5g
- Unsaturated Fat: 15g
- Trans Fat: 0g
- Carbohydrates: 27g
- Fiber: 1g
- Protein: 8g
- Cholesterol: 0mg
Keywords: no bake, peanut butter, icebox cake, dessert